Last updated: October 27, 2026
Five steps, one movie-ready image. Choose a flat wall or screen, place the projector at the proper distance, connect HDMI or USB-C, then finish with focus, keystone, and sound. A portable projector setup gets much easier once screen, power, and cables are lined up in the right order. Start with the surface, place the unit, hook up HDMI or USB-C, and end with focus, keystone correction, and audio.
Key takeaways
- Start with the image surface, not the device.
- Tripod height, throw distance, and room light matter more than people expect.
- HDMI is the cleanest laptop connection; USB-C is often the easiest phone connection if the model supports video over USB-C.
- Sound usually lives apart from picture, so plan for the built-in speaker or an external speaker before movie time.
- A power bank can help on the road, but only if the projector supports that kind of input and the battery output matches the device’s needs.
- If the picture looks stretched or soft, the fix is usually placement, focus, or keystone correction — not a “better” cable.
What you need before you start
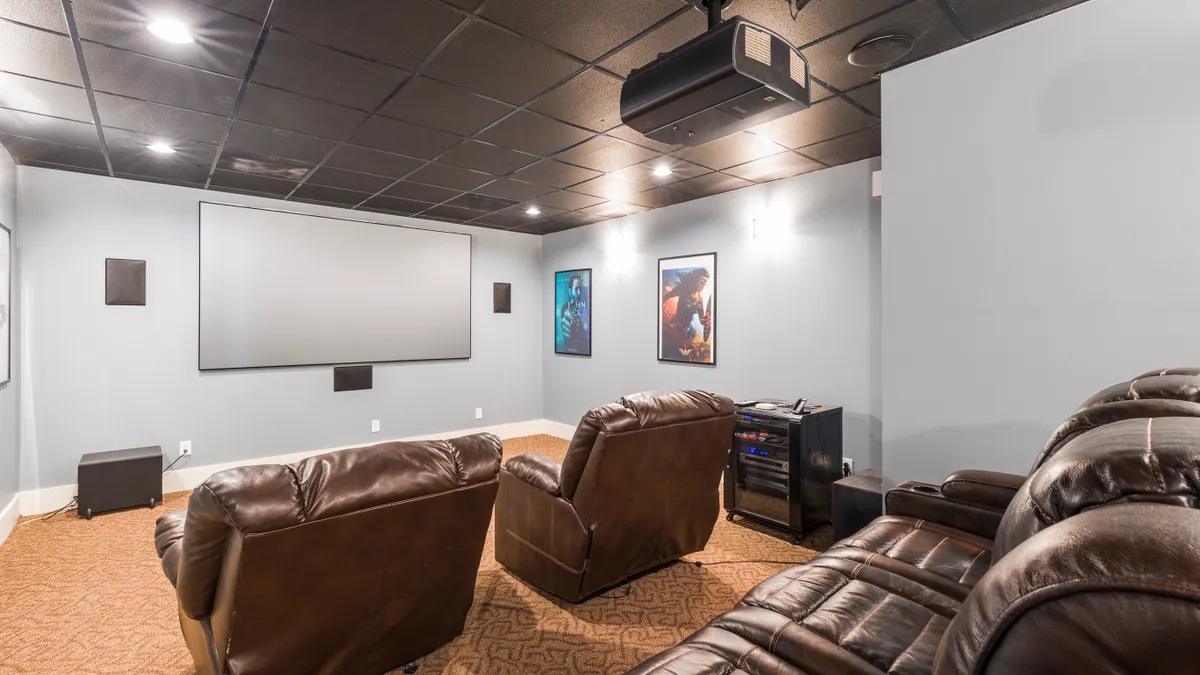
Three things come first: something to project onto, a steady spot for the unit, and the right cable or power source. A projection screen usually gives the most consistent result, though a plain white wall can work if it is smooth and matte. A tripod is the easiest way to hold a portable projector at the right height, especially in a hotel room or small living room. For setup basics and room lighting, see the projector guidance from the U.S. Department of Energy.
Have these on hand before you begin:
- the portable projector
- an HDMI cable for a laptop or media player
- a USB-C cable if your phone or laptop supports video output through USB-C
- a tripod or small stand
- a projection screen or flat wall
- a power outlet, extension lead, or compatible power bank
- the remote and, if needed, a phone charger or adapter
Starting with the device on a coffee table is the classic misstep. It usually leaves you with a tilted image, messy cords, and a picture that lands too low. Honestly, it is faster to pick the screen first, then position the projector to match.
Bright room? Plan for curtains, blackout blinds, or nighttime viewing. Portable units vary in brightness, and even a good model will look washed out in full daylight. In travel setups, that often means choosing an evening session instead of fighting the sun.
How do I place the screen and projector?
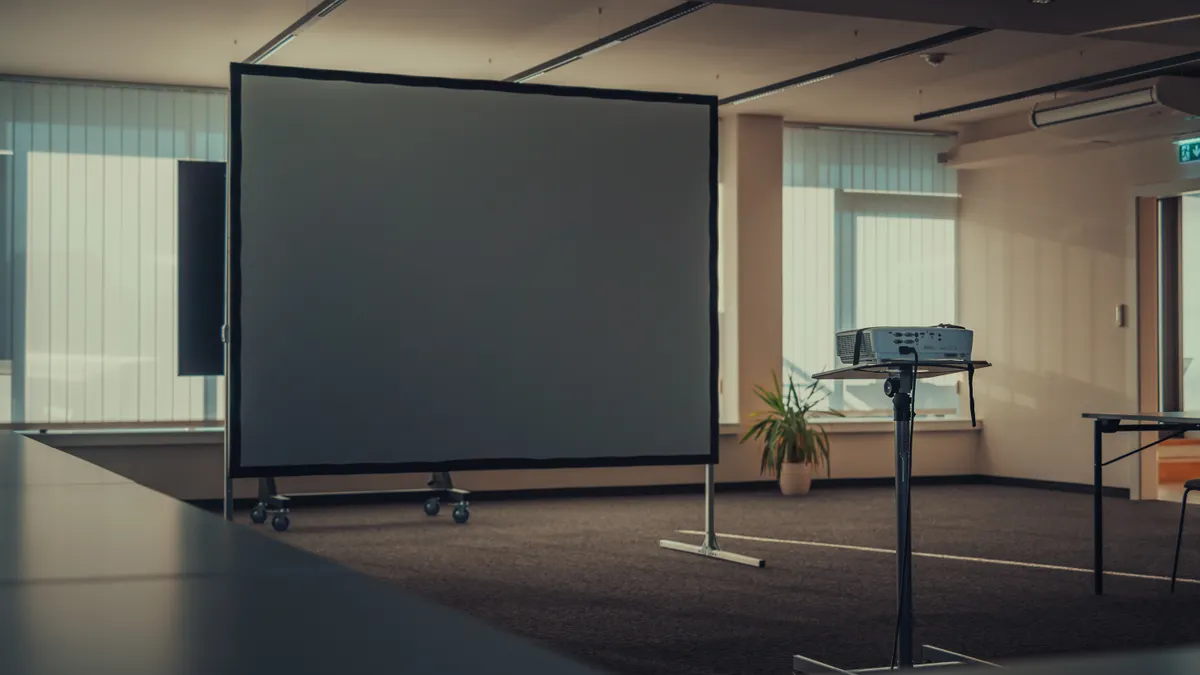
Set the screen first, then move the projector until the image fills it without heavy correction. That choice decides whether the rest feels easy or irritating.
- Hang or position the projection screen flat and centered. If you are using a wall, choose the smoothest, brightest section you have. You should see a rectangle area with no deep texture, artwork, or window glare.
- Put the projector on a tripod or stand roughly at the middle height of the screen. A stable height around seated eye level often makes setup simpler than placing it very low on a table.
- Aim the lens at the center of the screen, not the top edge. The image should land close to square before you turn on keystone correction.
- Move the projector forward or back until the picture fits the screen. Most portable models are designed for short-to-medium distances, so small movements can change the size quickly.
- Keep the body level. If the top and bottom edges of the image slant, the device is tilted and you will spend more time correcting geometry than watching anything.
The target is a rectangle that already looks nearly right. Too much keystone correction can make the image soft, even if it makes the frame fit. That trade-off shows up at home and on the road.
Mark the tripod position after you get a good result. Painter’s tape or a quick note on the floor saves time next time you watch. In a rented room or temporary space, that matters more than fancy gear. The difference is night and day.
Connect it with HDMI or USB-C
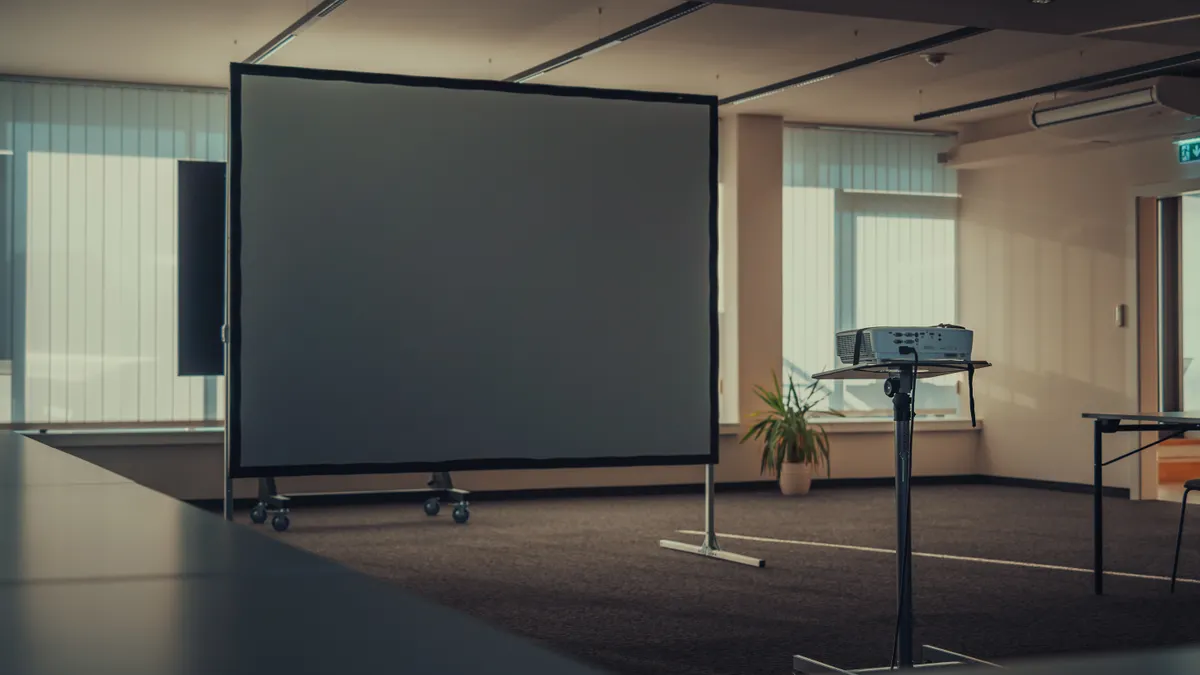
Use HDMI for the most predictable connection and USB-C when your phone or laptop supports video output over the cable. That is often the quickest way to get a clean signal without extra adapters, but compatibility still matters.
- Turn off the projector before plugging in the cable. You should feel the connector seat firmly, with no wobble.
- Connect HDMI from the laptop, streaming box, or game device to the projector. If you are using a phone, use USB-C only if the phone and projector both support video output over USB-C.
- Power on the projector and select the correct input, such as HDMI 1 or USB-C. The screen should switch from the home menu to your device.
- On a laptop, choose duplicate or mirror display if you want the same image on both screens. The desktop should appear on the wall or screen within a few seconds.
- On a phone, unlock the device and approve any prompt that asks for display access. The image should appear without extra app setup if the hardware is compatible.
HDMI is often the safest choice because it works across many laptops and media players, and it keeps audio and video together. USB-C is tidy when it works, but not every USB-C port carries display output. A charging-only USB-C cable will not send a picture. For USB-C display support and cable rules, Apple’s USB-C adapter and support documentation explain the basics clearly.
No signal? Check the input selection before you blame the cable. That small step causes more confusion than the wire itself. Some laptops also need a display shortcut or a settings change before they send video to an external screen.
Set focus and keystone so the picture looks square
Focus first, then use keystone correction only as much as needed. That order gives a sharper image than trying to bend the picture into shape before it is clear.
- Show a menu, logo, or grid pattern on the screen. A bright, high-contrast image makes focus easier.
- Turn the focus ring or use the remote until text and edges look crisp in the center of the image. The letters should stop looking fuzzy.
- Check the corners. If one side is sharper than the other, the projector may not be level or centered.
- Use keystone correction only to fix a slight trapezoid shape. The image should become more rectangular, not obviously stretched.
- Step back and look at the whole frame at normal viewing distance. The picture should look even, with straight vertical edges and readable text.
More keystone usually means less native detail. That is the trade-off, plain and simple. Moving the device physically is better than leaning on the digital correction menu. If you can shift the tripod 10 cm to the left or raise it a few centimeters, do that before pushing the settings hard.
For home use, this is where a wall or ceiling mount would normally matter, but a portable setup lives or dies by small adjustments. On the road, a stack of books or a compact tripod can solve a problem that a menu cannot. The Consumer Technology Association notes that display setup is usually easier when the source, screen, and seating are all aligned before correction begins.
Auto-focus or auto-keystone? Treat it as a starting point, not a finish. Automatic correction is useful, but it can still leave the frame slightly off-center or soften the text enough to notice during subtitles. When the image still looks off after the automatic adjustment, check the manual or consult a professional installer for the best placement and correction settings.
How to handle sound without ruining the setup
Use the projector’s speaker for a quick setup, then add external audio when you want better dialogue or fuller sound. The picture may be ready before the room sounds right.
- Start with the built-in speaker if you are in a hotel or temporary room. You should hear menu clicks or startup tones immediately.
- If the sound is thin, connect a Bluetooth speaker or a wired speaker through the projector’s audio output if it has one. Dialogue should become clearer and more full-bodied.
- Put the speaker near the viewing area, not behind the projector. Sound that comes from the wrong corner feels disconnected from the image.
- Lower any echo by moving away from hard walls or bare tile if possible. A carpet, curtain, or bedspread can soften the room a little.
- Keep volume moderate before a movie starts. You want enough headroom for loud scenes without distortion.
Sound is the easiest part to overlook because a portable projector looks self-contained. It usually is not. Many small speakers are fine for news, casual streaming, or a bedroom session, but they can sound thin in a larger room. That is not a defect; it is a size trade-off.
Traveling? Bluetooth is convenient but not perfect. A speaker may add a slight delay unless the projector and speaker are well matched. For lip-sync sensitive viewing, a wired connection is still the steadier choice when the hardware allows it.
Power options for home, hotel, and outdoor use
Choose wall power first, then use a power bank only when the projector is designed for it. This keeps the setup reliable instead of improvising around battery life.
- Plug the projector into a wall outlet when available. The device should power on without dropping brightness as the battery drains.
- If you are away from outlets, check whether the model accepts USB-C power input or a specific DC input. The label or manual should match the charger or battery source you plan to use.
- Use a power bank only if its output meets the projector’s requirement. The projector should turn on and stay stable instead of flashing low-power warnings.
- Keep a short cable run if possible. Long, loose charging cables are easy to pull out when someone walks past a table or tripod.
- For outdoor use, charge everything before dark. You want the battery to cover the whole session, not fail midway through the credits.
A power bank is useful on a train, in a campsite, or in a room with awkward outlets, but it is not magic. Some portable units run on dedicated power packs, some want higher-wattage USB-C delivery, and some still need AC power. If the input does not match, the setup will not hold.
This is also where travel planning pays off. In a hotel room, the nearest outlet may be behind a desk or bed. In that case, a small extension lead can make the difference between a clean setup and a cable draped across the floor. Keep the cable route tidy so nobody trips over it.
Fix the setup when the picture looks wrong
Adjust the room before you keep turning settings. Most bad portable projector images come from placement, light, or connection issues, not from a broken device.
- Dim picture? Reduce ambient light first. Close curtains or wait until evening before you raise brightness settings.
- Blurry edges? Move the projector so it faces the screen more squarely.
- Soft text? Back off on keystone correction and refocus.
- Flicker or cutout? Inspect the cable and the input selection before changing anything else.
- Delayed sound? Switch from Bluetooth to a wired connection when possible.
The biggest mistake is trying to fix every symptom in the menu. That often makes the image worse. A better rule is: align first, focus second, correct digitally last. That order works at home on a wall and in a hotel room with a tripod by the bed.
Portable projector setup is not hard, but it is physical. Screen placement, light control, connection type, and power source all matter at the same time. If one of them is off, the whole experience feels off.
What portable projector setup is wrong for
A portable projector setup is wrong for someone who wants instant, no-adjustment viewing in a bright room. If the goal is to turn it on and get a perfect image on the first try, a fixed TV will be easier.
It is also a poor choice for anyone who refuses to manage cables, battery limits, or room lighting. The trade-off for portability is that placement matters more than on a flat-panel display. That does not make the setup difficult, but it does mean the person using it has to do a little work each time.
How do I connect my phone to a portable projector?
Connect your phone with USB-C if the phone and projector both support video output over USB-C, or use HDMI with the right adapter if they do not. The image should appear after you select the correct input on the projector. If nothing shows up, the phone may be charging only, not sending video.
How do I get the best picture from a portable projector?
For the sharpest image on a portable projector, use a flat projection screen or smooth wall, place the unit square to the surface, and keep keystone correction low. The picture looks best when focus is set after placement, not before it. Lower room light also makes a big difference, especially with smaller portable models.
How far should a portable projector be from the wall?
The right distance depends on the model’s throw ratio and the screen size you want. Start with the distance suggested in the manual, then move the unit a little closer or farther until the image fills the screen without heavy keystone correction. The ideal distance is the one that gives a full rectangle with minimal adjustment.
Drafted with AI; not yet reviewed by a person.